开发中,相信经常会使用到inflater动态生成并加载View,例如:
View v = inflater.inflate(R.layout.layout_child, null);
parent.addView(v);
在addView的时候,也会经常遇到诡异的现象:
明明子布局设置的是android:layout_width=”match_parent”,而最后的效果却是”wrap_content”
为什么呢?
无意间看到一个帖子,标题:一个难倒 3年 android开发经验 ” 工程师 ” 的 “bug”,链接地址:http://www.2cto.com/kf/201602/489364.html,所描述的问题就是通过填充器动态添加View对象的时候发现view中的宽高失效,而原帖作者所采用的方式是重新设置布局参数,方法如下代码所示:
ll_container=(LinearLayout) findViewById(R.id.ll_container);
btn=(Button) LayoutInflater.from(this).inflate(R.layout.my_button, null);
LinearLayout.LayoutParams lp=new LinearLayout.LayoutParams(200,200);
btn.setLayoutParams(lp);
ll_container.addView(btn);
看到这个问题之后非常怀疑,觉得非常奇怪,为什么原来xml中的宽度和高度消失了,遇到这种诡异的bug,不妨先读读相关源码。
看下addView的源码。
 public void addView(View child) {
        addView(child, -1);
    }
    ……
 public void addView(View child, int index) {
        if (child == null) {
            throw new IllegalArgumentException("Cannot add a null child view to a ViewGroup");
        }
        LayoutParams params = child.getLayoutParams();
        if (params == null) {
            params = generateDefaultLayoutParams();
            if (params == null) {
                throw new IllegalArgumentException("generateDefaultLayoutParams() cannot return null");
            }
        }
        addView(child, index, params);
    }
可以看到,直接调用addView方法的时候,首先会获取子布局的参数:
LayoutParams params = child.getLayoutParams();
而这个方法的注解中有这样一段说明:
This method may return null if this View is not attached to a parent
ViewGroup or {@link #setLayoutParams(android.view.ViewGroup.LayoutParams)}
was not invoked successfully. When a View is attached to a parent
ViewGroup, this method must not return null.
当View没有挂载到父布局或者没有成功生成时,它的参数为null!所以接下来,会调用默认参数generateDefaultLayoutParams():
 protected LayoutParams generateDefaultLayoutParams() {
        return new LayoutParams(LayoutParams.WRAP_CONTENT, LayoutParams.WRAP_CONTENT);
    }
看到了吧,默认参数是宽高都为WRAP_CONTENT。所以当使用inflater生成子View,然后直接调用addView(View v)方法时,子布局的宽高设置都会失效!
这里就有一个疑问,怎么样才能使它保持原有的宽高比呢?
首先inflate有两个供用户调用的重载方法,分别是:
1、public View inflate(int resource, ViewGroup root)
2、public View inflate(int resource, ViewGroup root, boolean attachToRoot)
而我们常用的是第一个,而且习惯将root设置为null;
先看第一个方法的源码:
 public View inflate(int resource, ViewGroup root) {
        return inflate(resource, root, root != null);
    }
看见了吗,其实也是调用的而第二个重载方法,三个参数分别是:view的资源id,装载view的父容器,是否依附到父容器的布尔标记。
下面进入inflate(int resource, ViewGroup root, boolean attachToRoot)源码中
 public View inflate(int resource, ViewGroup root, boolean attachToRoot) {
        if (DEBUG) System.out.println("INFLATING from resource: " + resource);
        XmlResourceParser parser = getContext().getResources().getLayout(resource);
        try {
            return inflate(parser, root, attachToRoot);
        } finally {
            parser.close();
        }
    }
这个方法其实做的事情就是将view的xml文件读取到xml解析器中,然后传递到另外一个inflate重载方法中, 最核心的就在这个方法中,下面来看这个方法中的源代码:
      public View inflate(XmlPullParser parser, ViewGroup root, boolean attachToRoot) {
        synchronized (mConstructorArgs) {
            final AttributeSet attrs = Xml.asAttributeSet(parser);
            Context lastContext = (Context)mConstructorArgs[0];
            mConstructorArgs[0] = mContext;
            View result = root;

            try {
                // Look for the root node.
                int type;
                while ((type = parser.next()) != XmlPullParser.START_TAG &&
                        type != XmlPullParser.END_DOCUMENT) {
                    // Empty
                }

                if (type != XmlPullParser.START_TAG) {
                    throw new InflateException(parser.getPositionDescription()
                            + ": No start tag found!");
                }

                final String name = parser.getName();

                if (DEBUG) {
                    System.out.println("**************************");
                    System.out.println("Creating root view: "
                            + name);
                    System.out.println("**************************");
                }

                if (TAG_MERGE.equals(name)) {
                    if (root == null || !attachToRoot) {
                        throw new InflateException(" can be used only with a valid "
                                + "ViewGroup root and attachToRoot=true");
                    }

                    rInflate(parser, root, attrs, false);
                } else {
                    // Temp is the root view that was found in the xml
                    View temp;
                    if (TAG_1995.equals(name)) {
                        temp = new BlinkLayout(mContext, attrs);
                    } else {
                        temp = createViewFromTag(root, name, attrs);
                    }

                    ViewGroup.LayoutParams params = null;

                    if (root != null) {
                        if (DEBUG) {
                            System.out.println("Creating params from root: " +
                                    root);
                        }
                        // Create layout params that match root, if supplied
                        params = root.generateLayoutParams(attrs);
                        if (!attachToRoot) {
                            // Set the layout params for temp if we are not
                            // attaching. (If we are, we use addView, below)
                            temp.setLayoutParams(params);
                        }
                    }

                    if (DEBUG) {
                        System.out.println("-----> start inflating children");
                    }
                    // Inflate all children under temp
                    rInflate(parser, temp, attrs, true);
                    if (DEBUG) {
                        System.out.println("-----> done inflating children");
                    }

                    // We are supposed to attach all the views we found (int temp)
                    // to root. Do that now.
                    if (root != null && attachToRoot) {
                        root.addView(temp, params);
                    }

                    // Decide whether to return the root that was passed in or the
                    // top view found in xml.
                    if (root == null || !attachToRoot) {
                        result = temp;
                    }
                }

            } catch (XmlPullParserException e) {
                InflateException ex = new InflateException(e.getMessage());
                ex.initCause(e);
                throw ex;
            } catch (IOException e) {
                InflateException ex = new InflateException(
                        parser.getPositionDescription()
                        + ": " + e.getMessage());
                ex.initCause(e);
                throw ex;
            } finally {
                // Don't retain static reference on context.
                mConstructorArgs[0] = lastContext;
                mConstructorArgs[1] = null;
            }

            return result;
        }
    }
源代码非常长,因此挑重点分块看:
if (root != null) {
    if (DEBUG) {
         System.out.println("Creating params from root: " +
                 root);
     }
     // Create layout params that match root, if supplied
     params = root.generateLayoutParams(attrs);
     if (!attachToRoot) {
         // Set the layout params for temp if we are not
         // attaching. (If we are, we use addView, below)
         temp.setLayoutParams(params);
     }
 }
这段代码是首先判断传入的父容器是否为null,如果不为null,根据view 的xml文件中设置的属性生成布局参数,然后判断是否需要依附到父容器上,如果不需要则将布局参数设定给view对象,有些人会好奇为什么时不需要依附才设定布局参数,别着急,后面会讲到。
下面看这段代码:
// We are supposed to attach all the views we found (int temp)
// to root. Do that now.
 if (root != null && attachToRoot) {
     root.addView(temp, params);
 }

 // Decide whether to return the root that was passed in or the
 // top view found in xml.
 if (root == null || !attachToRoot) {
     result = temp;
 }
第一个if是当传入的父容器不为空,并且标记位为true的时候,则直接将将view添加到root上面,并将root返回,注意此处传入了布局参数,这就是为什么上面那段代码只对false情况setLayoutParams(params)。
第二个if是当root为null或者不需要依附,则直接将view作为返回值返回,这里要强调一下,此处的if有两种情况 :
1、第一种是root==null,则不需要考虑标记位,直接将view返回;
2、第二种是root!=null ,标记位为false 虽然也是直接将view返回,但是此时的view由于root!=null已经setLayoutParams(params)因此是有区别的。
下面进行总结:
public View inflate(int resource, ViewGroup root)
该方法是如果root为null,则返回的是不带layoutparams的view对象;如果不为空则是直接将带有layoutparams的view添加到root上,并将root返回。
public View inflate(int resource, ViewGroup root, boolean attachToRoot)
此处考虑root!=null的情况,因为如果为null则跟上一个方法一样,细分如下两个方法
①inflate(int resource, ViewGroup root, false) 这个方法是将带有layoutparams的view返回
②inflate(int resource, ViewGroup root, true) 这个方法是将带有view和layoutparams添加到root上,并将root返回。
下面进行验证:
首先贴出activity_main.xml
<RelativeLayout xmlns:android="http://schemas.android.com/apk/res/android"
    xmlns:tools="http://schemas.android.com/tools"
    android:layout_width="match_parent"
    android:layout_height="match_parent"
    android:paddingBottom="@dimen/activity_vertical_margin"
    android:paddingLeft="@dimen/activity_horizontal_margin"
    android:paddingRight="@dimen/activity_horizontal_margin"
    android:paddingTop="@dimen/activity_vertical_margin"
    tools:context="com.example.inflatertest.MainActivity" >

    <LinearLayout
        android:id="@+id/ll_container"
        android:layout_width="match_parent"
        android:layout_height="wrap_content"
        android:orientation="vertical"></LinearLayout>

</RelativeLayout>
然后贴出my_button.xml(view布局)
<?xml version="1.0" encoding="utf-8"?>
<Button xmlns:android="http://schemas.android.com/apk/res/android"
    android:id="@+id/btn"
    android:text="按钮"
    android:layout_width="80dp"
    android:layout_height="80dp" >
    </Button>
下面贴出MainActivity代码:
第一种情况:
    ll_container=(LinearLayout) findViewById(R.id.ll_container);
    btn=(Button) LayoutInflater.from(this).inflate(R.layout.my_button, null);
    ll_container.addView(btn);
效果图:
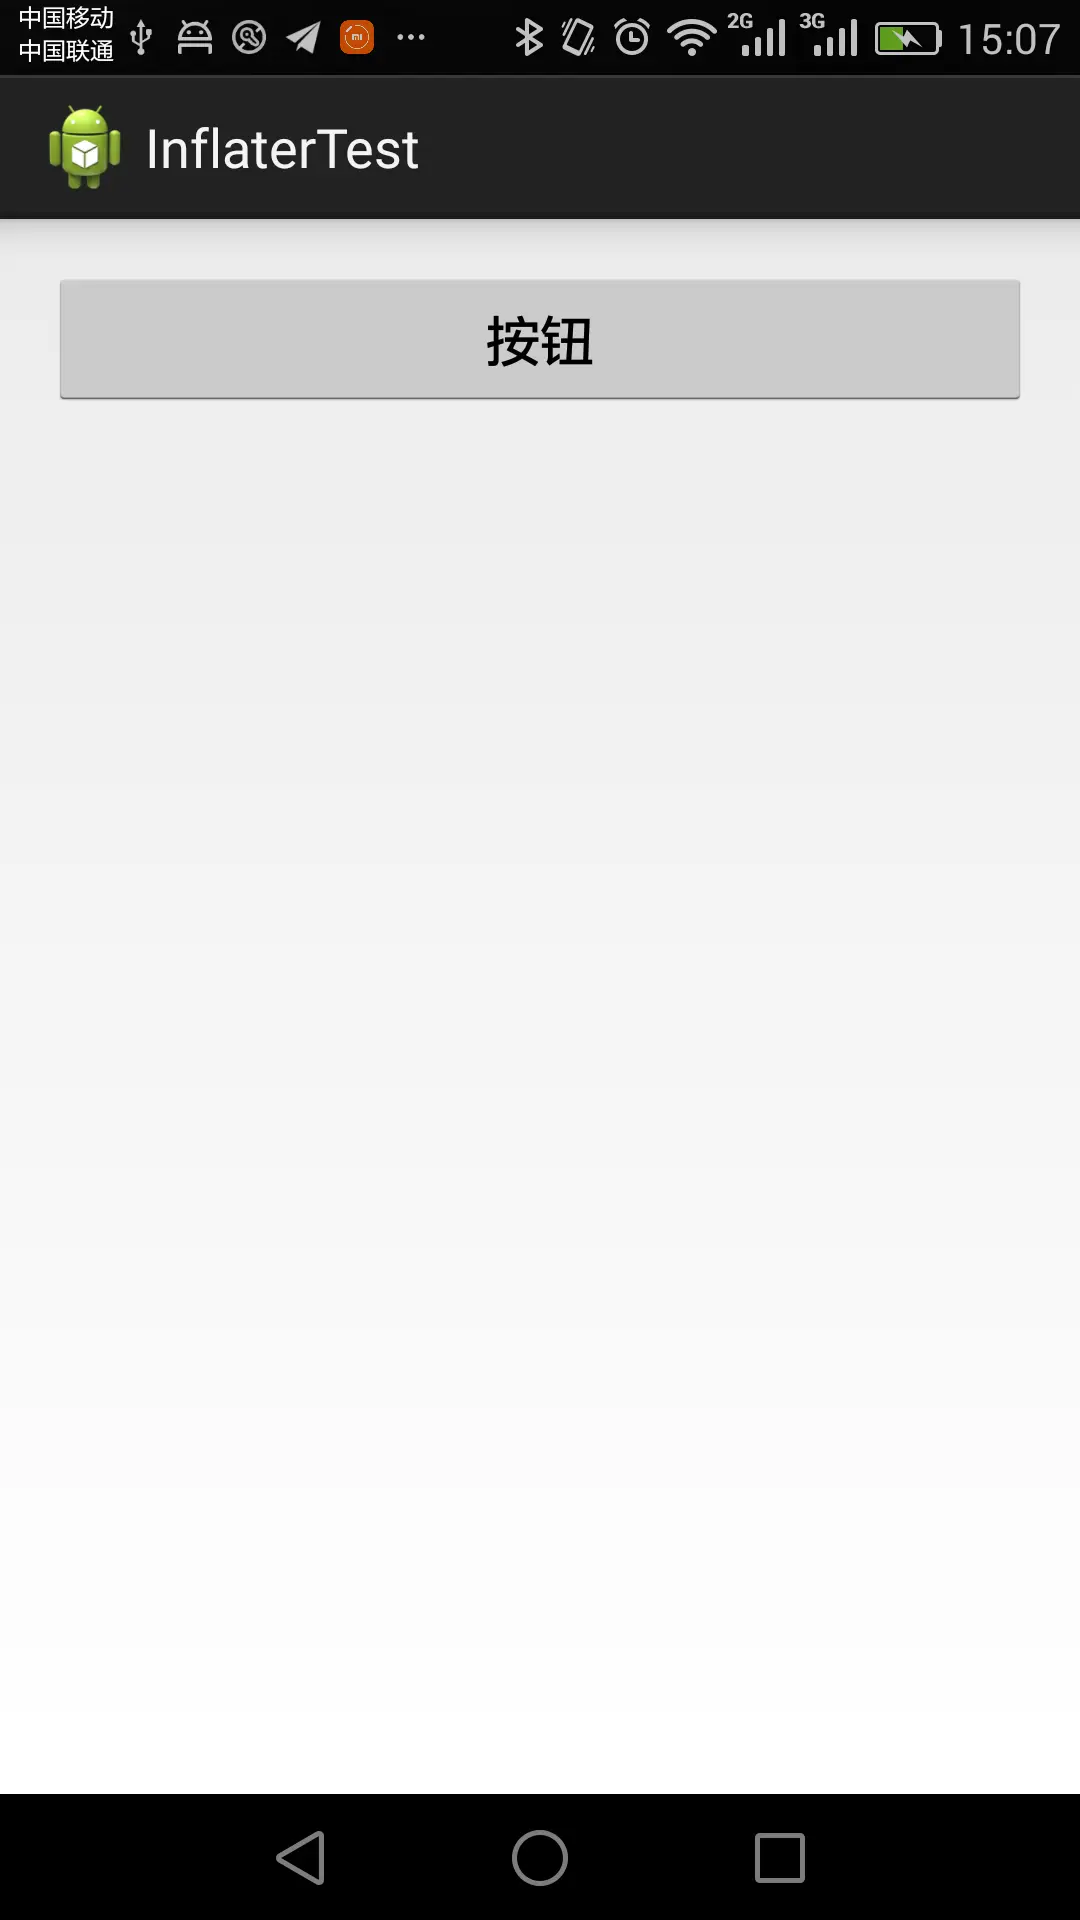
可以看出确实宽高失效
第二种情况,按照原帖作者的改进方式:
    ll_container=(LinearLayout) findViewById(R.id.ll_container);
    btn=(Button) LayoutInflater.from(this).inflate(R.layout.my_button, null);
    LinearLayout.LayoutParams lp=new LinearLayout.LayoutParams(200,200);
    btn.setLayoutParams(lp);
    ll_container.addView(btn);
重新设定了宽高,此种方式如果需要设定原始宽高则需要dp与px转换
另一种改进方式:
    ll_container=(LinearLayout) findViewById(R.id.ll_container);
    btn=(Button) LayoutInflater.from(this).inflate(R.layout.my_button,ll_container,false);
    ll_container.addView(btn);
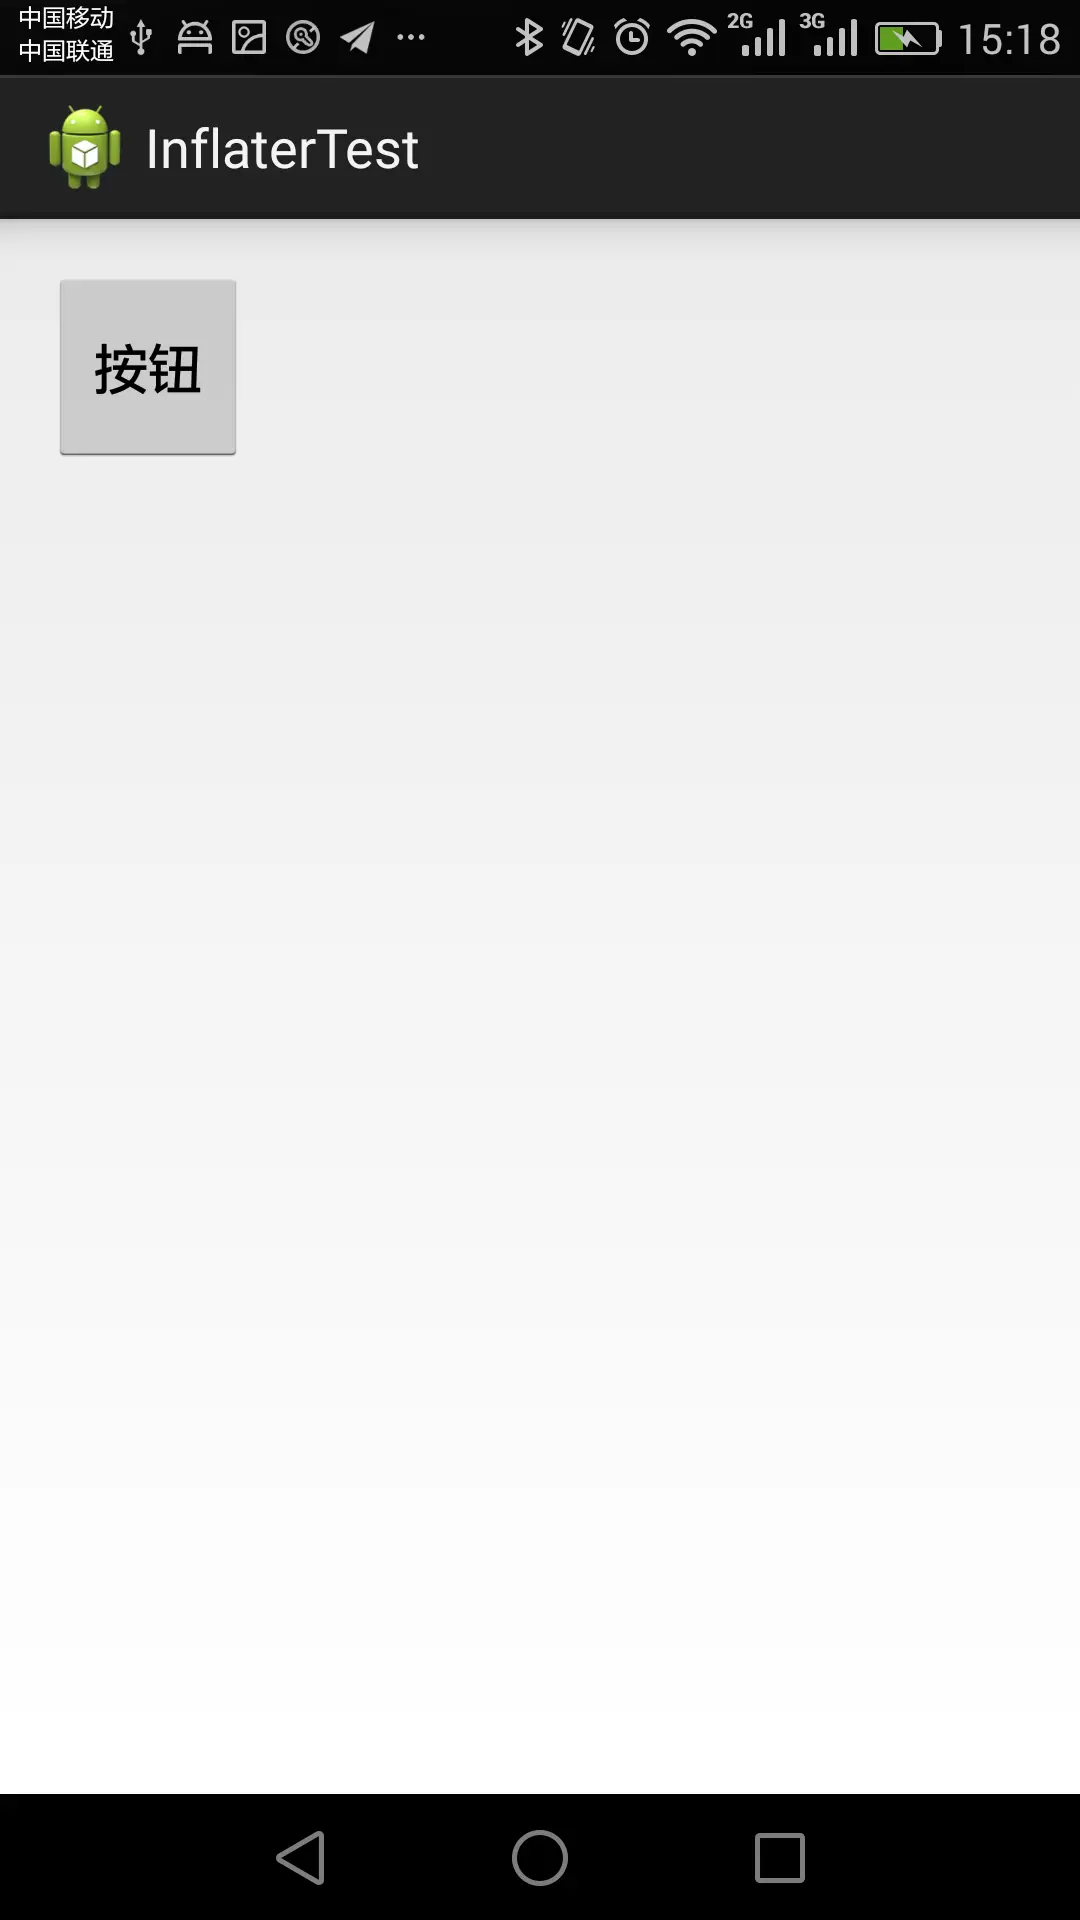
效果图:
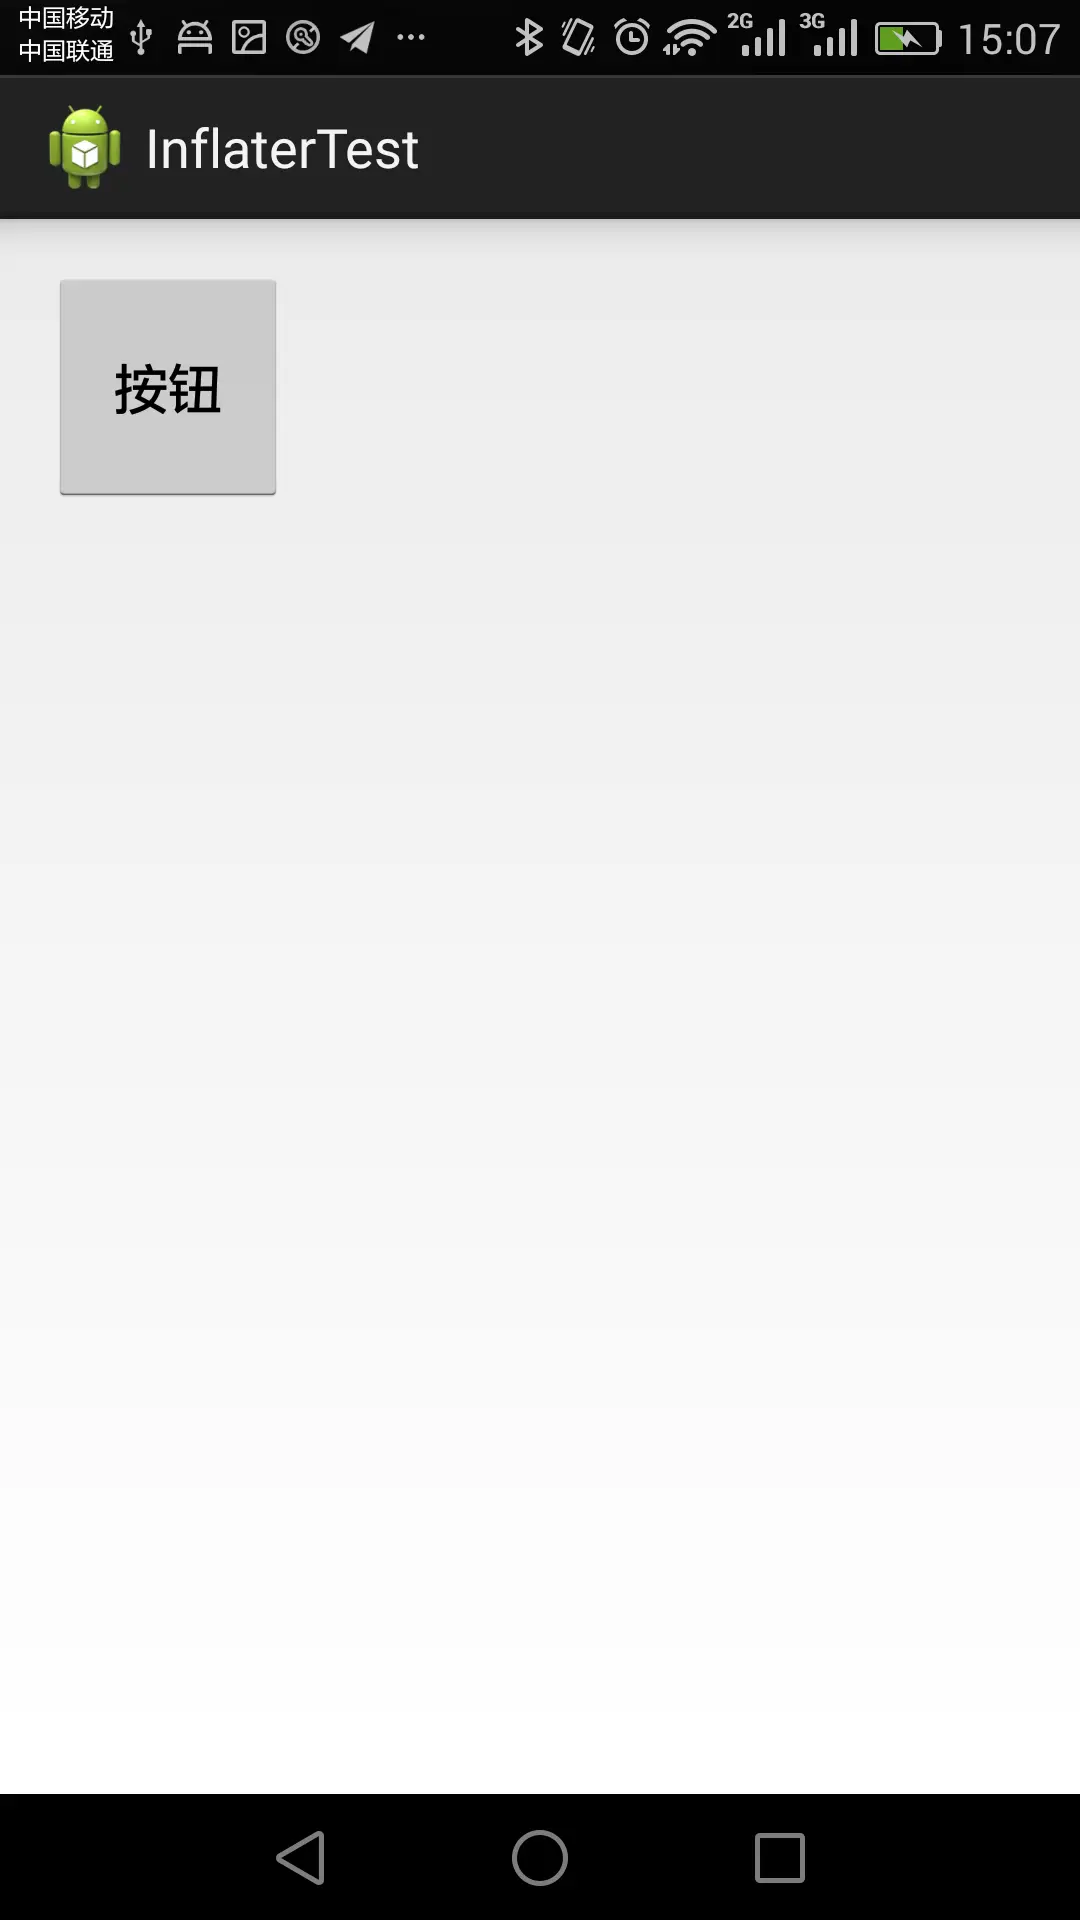
此种方法按照xml宽高进行布局
还有一种改进方式:
ll_container=(LinearLayout) findViewById(R.id.ll_container);
btn=(Button) LayoutInflater.from(this).inflate(R.layout.my_button, null);
LayoutInflater.from(this).inflate(R.layout.my_button,ll_container,true);
此种方式和上一种效果一样,此处不需要进行addview操作,代码更加简洁。
关于LayoutInflater类
该类是一个抽象类,继承自Object,存在于android.view包下,以下是SDK中的叙述:
Instantiates a layout XML file into its corresponding View objects. It is never used directly. Instead, use getLayoutInflater() or getSystemService(String) to retrieve a standard LayoutInflater instance that is already hooked up to the current context and correctly configured for the device you are running on. For example:
LayoutInflater inflater = (LayoutInflater)context.getSystemService(Context.LAYOUT_INFLATER_SERVICE);
To create a new LayoutInflater with an additional LayoutInflater.Factory for your own views, you can use cloneInContext(Context) to clone an existing ViewFactory, and then call setFactory(LayoutInflater.Factory) on it to include your Factory.
For performance reasons, view inflation relies heavily on pre-processing of XML files that is done at build time. Therefore, it is not currently possible to use LayoutInflater with an XmlPullParser over a plain XML file at runtime; it only works with an XmlPullParser returned from a compiled resource (R.something file.)
翻译和阐述:
LayoutInflater类的作用是,将xml布局文件实例化为它对应的View对象。这个类不能直接使用,也就是不能直接调用其中的成员。一般,我们通过getLayoutInflater()方法或者 getSystemService(String)方法来获得该类的实例,通过以上两个方法获得的LayoutInflater类实例,已经和当前的上下文关联起来,并且已经正确配置在当前程序运行的设备上。我们顺便说一下这两个获得实例的方法:getLayoutInflater()方法,并不是上下文的方法,Activity类有这个方法,不需要传入参数,在Activity中直接调用即可。Fragment类也有这个方法,但是需要传入一个Bundle对象作为参数。可以看到,通过该方法获得的LayoutInflater类对象和上下文环境相配合。getSystemService(String)方法是Context的方法,需要传入Context的成员变量作为参数,获得相应的对象,要获得LayoutInflater对象,需要传入Context.LAYOUT_INFLATER_SERVICE
以上介绍的LayoutInflater类是Android系统为我们提供的通用类,如果我们想要为我们的View对象创建专用的LayoutInflater类,则可以用到LayoutInflater.Factory ,这是一个LayoutInflater类内部的接口,通过工厂设计模式可以使我们获得定制的专用LayoutInflater类。我们可以使用cloneInContext(Context)来克隆一个已经存在的ViewFactory,然后调用setFactory(LayoutInflater.Factory)方法,将我们创建好的工厂包括进来。在这里我大概说明一下这段话的意思和作用:当我在一个上下文环境中创建好了一个LayoutInflater工厂之后,我们又想在另一个上下文环境中使用这个LayoutInflater工厂,那该怎么办?这里说的一种方法是,我们在当前上下文环境中,使用LayoutInflater类对象调用cloneInContext(Context)方法,其中的参数填写新上下文对象,因为我们要在新的上下文环境中使用。然后接着调用setFactory(LayoutInflater.Factory)方法,其中的参数就是我们目前创建的LayoutInflater工厂。这样创建完成后,我们在新上下文环境中,就可以调用目前上下文环境中绑定了LayoutInflater工厂的LayoutInflater类对象了,关于这里的更详细用法在本文中就不更多阐述了。
1、本站所有资源均从互联网上收集整理而来,仅供学习交流之用,因此不包含技术服务请大家谅解!
2、本站不提供任何实质性的付费和支付资源,所有需要积分下载的资源均为网站运营赞助费用或者线下劳务费用!
3、本站所有资源仅用于学习及研究使用,您必须在下载后的24小时内删除所下载资源,切勿用于商业用途,否则由此引发的法律纠纷及连带责任本站和发布者概不承担!
4、本站站内提供的所有可下载资源,本站保证未做任何负面改动(不包含修复bug和完善功能等正面优化或二次开发),但本站不保证资源的准确性、安全性和完整性,用户下载后自行斟酌,我们以交流学习为目的,并不是所有的源码都100%无错或无bug!如有链接无法下载、失效或广告,请联系客服处理!
5、本站资源除标明原创外均来自网络整理,版权归原作者或本站特约原创作者所有,如侵犯到您的合法权益,请立即告知本站,本站将及时予与删除并致以最深的歉意!
6、如果您也有好的资源或教程,您可以投稿发布,成功分享后有站币奖励和额外收入!
7、如果您喜欢该资源,请支持官方正版资源,以得到更好的正版服务!
8、请您认真阅读上述内容,注册本站用户或下载本站资源即您同意上述内容!
原文链接:https://www.dandroid.cn/21397,转载请注明出处。


评论0